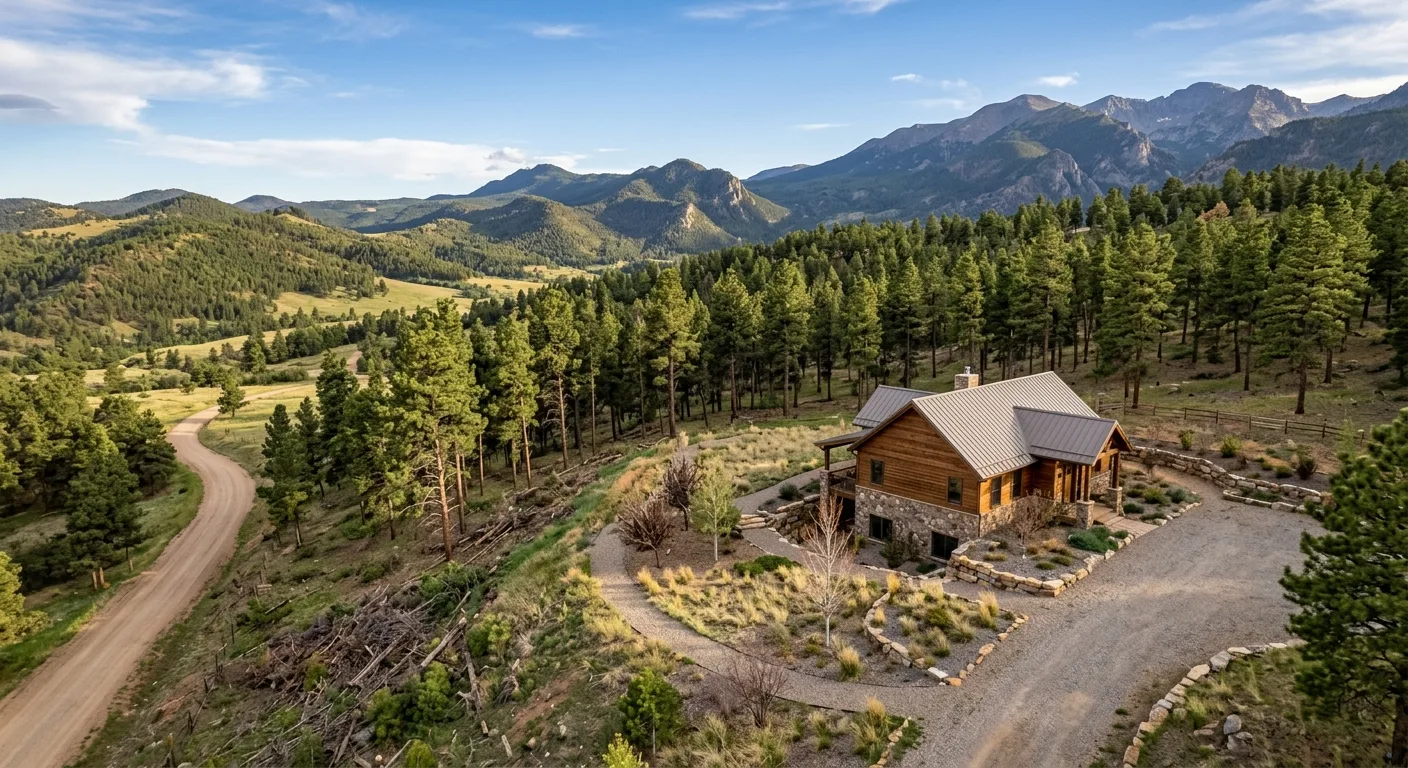
Home Hardening & Fire Hardening in Colorado: How to Harden Your Home Against Wildfire

Home hardening, also called fire hardening, is the work of making your house so hard to ignite that embers arrive and find nothing to catch. If you want to know how to harden your home against wildfire, start with one fact that reorders everything: most homes that burn in a wildfire do not catch from a wall of flame rolling through the yard. They catch from wind-blown embers. Post-fire investigations from the Insurance Institute for Business and Home Safety (IBHS) and the Colorado State Forest Service consistently find that embers, not the flame front, are the leading cause of home ignitions, and those embers can travel a mile or more ahead of the fire itself. The Marshall Fire in December 2021 destroyed more than a thousand suburban Front Range homes that were nowhere near a forest. Embers did that. Once you accept that, the whole project changes: you stop worrying about a distant tree line and start closing the small openings and clearing the small spaces where embers actually land and take hold.
The good news is that fire-hardening is not one giant renovation. It is a prioritized sequence, and the highest-impact steps are often the cheapest. Below is the order we work in when we assess Colorado homes, ranked by how much ignition risk each step removes per dollar. A weekend of the right work beats a five-figure project done in the wrong order.
How do I fire harden my home? Start at the top and work down
Fire hardening means reducing your home's ignitability so that when embers arrive, they land on surfaces that do not catch and slip into openings that are sealed. You work from the roof down, because that is roughly the order in which embers find their way in. Here is the priority sequence:
- Roof and gutters. The roof is the single largest ember-catching surface on your house. A Class A roof covering (metal, concrete tile, or Class A asphalt shingle) is the baseline. Just as important: keep gutters and roof valleys clear of dry pine needles and leaves. A gutter full of needles is a fuse laid along the edge of your roof. Metal gutter guards are a low-cost, high-return upgrade.
- Vents and openings. Attic, soffit, gable, and crawlspace vents are the most consistently documented ember entry points in post-fire studies. Cover every vent with 1/16-inch corrosion-resistant metal mesh. Standard window screen (1/8-inch) lets embers through. This is cheap and it matters more than almost anything else you can do.
- The first five feet (Zone 0). More on this below, but it belongs here in the ranking. The five feet of ground touching your foundation should hold nothing that burns.
- Decks, porches, and fences. An attached wood deck is a fuel ramp bolted to your house. Clear the debris that collects underneath, and where you can, move to a Class A rated deck surface and non-combustible skirting.
- Windows, siding, and doors. Single-pane glass can fail from radiant heat before flames ever touch it. Dual-pane tempered glass holds up far longer. Wood and vinyl siding are the high-risk cladding types; fiber cement, stucco, brick, and stone are the improvements.
Do this in order and stop when you run out of budget for the season. A home with a clean roof, screened vents, and a bare first five feet is dramatically harder to ignite than a home that got new windows but still has a needle-packed gutter.
The first five feet is the part almost everyone gets wrong
The five-foot band right against your foundation is called Zone 0, and it is where we see the most failures on the homes we assess in the Front Range foothills. Embers pile up against the base of a wall the way snow drifts against a fence. If what they land on is bark mulch, dry leaves, a stack of firewood, a plastic doormat, or a wood fence running straight into the siding, that is where the fire starts. Zone 0 should be non-combustible: gravel, stone, bare soil, or concrete. Move the firewood pile away from the house. Pull the wood mulch out of the beds against the wall. Swap the last section of any wood fence that meets the house for metal or masonry so the fence cannot carry flame to the structure. None of this costs much. All of it works.
How do I improve wildfire safety around my roof, vents, deck, gutters, siding, and windows?
These six surfaces are where nearly every home ignition starts, so here is the specific improvement for each, in the order an ember finds them. Treat them as a checklist, not a wish list.
- Roof: get to a Class A covering (metal, concrete tile, or Class A asphalt) so the largest ember-catching surface on the house does not become the ignition point.
- Gutters: keep them clear of dry pine needles and add metal gutter guards. A needle-packed gutter is a fuse laid along the roof edge, and it will beat a brand-new roof every time.
- Vents: screen every attic, soffit, gable, and crawlspace vent with 1/16-inch corrosion-resistant metal mesh. Vents are the most consistently documented ember entry point, and this is the cheapest fix with the biggest payoff.
- Deck: clear the debris that collects underneath, close off the skirting, and move toward a Class A rated surface. An attached wood deck is a fuel ramp bolted to the house.
- Siding: replace the high-risk wood and vinyl cladding closest to the ground with fiber cement, stucco, brick, or stone, because that is where embers pile up against the wall.
- Windows: upgrade single-pane glass to dual-pane with at least one tempered pane. Single-pane glass can crack and fall out from radiant heat before a flame ever touches it, and once the glass is gone the fire is inside.
On the foothills homes we assess, the roof, gutters, and vents are the three that remove the most ignition risk per dollar, so start there and work down the list as budget allows. If you want these scoped and inspected properly rather than guessed at, that is exactly what a home hardening assessment covers. Call Joe directly at (303) 304-9997.
How to make a home more fire resistant when the easy steps are done
Once the roof, vents, and Zone 0 are handled, the remaining work is more involved and this is usually where do-it-yourself runs out. Re-siding the lower portion of exterior walls, replacing decking with Class A materials, upgrading to tempered glass, or rebuilding a fence line are jobs that pay to do right. They also compound: hardening the structure only reaches its full value when the space around it is managed too, because a treated home surrounded by continuous fuel still sits in the path of a running fire.
That is why we never separate the building from its surroundings. Structural work and defensible space are assessed together, as one ignition-risk system, the way a full fire mitigation plan approaches the whole property. If you have gotten through the ember-proofing basics and want the harder retrofits scoped and sequenced properly, that is exactly what a home hardening assessment is for. Joe Slota walks the roof, vents, siding, decks, windows, and adjacent vegetation as a whole, then hands you a written list of vulnerabilities ranked by ignition risk so you can phase the work by impact instead of guessing.
Scope the budget first, and document the work for HB25-1182
You can also get a sense of scope and budget before anyone visits by running the numbers on the wildfire mitigation cost calculator. And in Colorado, documented mitigation work has a real second payoff: under HB25-1182, homeowners who complete and document hardening and defensible-space work have a clearer path to improved wildfire insurance eligibility. Keep your receipts and your assessment summary.
Frequently asked questions
What is the number one cause of house fires during wildfires?
Wind-blown embers. Investigations by IBHS and post-fire teams find that the majority of homes lost in wildfires ignite from embers landing on or entering the structure, not from the main flame front. Embers can travel a mile or more ahead of the fire, which is why homes far from any tree line still burn. Screening vents, clearing gutters, and keeping the first five feet non-combustible addresses this single largest risk directly.
How far should trees be from a house for fire safety?
Colorado State Forest Service guidance keeps the first five feet around the home (Zone 0) free of trees and shrubs entirely. From 5 to 30 feet, trees should be spaced so their crowns do not touch and lower branches pruned 6 to 10 feet off the ground to break the ladder-fuel path. Beyond 30 feet, thin tree groupings and remove slash rather than clear-cutting. On steep slopes, extend those distances downhill, since fire moves faster uphill. A short walk of your lot against these standards, which is part of every defensible space assessment, tells you where your gaps are.
If you are in the Front Range foothills and want the whole picture, from the first five feet to the roof line, call Joe directly at (303) 304-9997 for a free wildfire risk assessment.